Don Johnson's Website

My Personal 'Stuff'


Pictures of various projects that I have made since getting involved in woodworking after my retirement

Click on each item to see a larger view
(Use your Browser 'Back' button to return)

A bench for the front porch - to aid putting on and removing boots!   This was my first 'real' woodworking project, and I made it using loose tenons!


A coffee table for the lounge - to match the rather solid oak desk


A smaller oak table -
for the Hi-Fi unit


Hobby horse for grandson Michael


And one for Patrick


Some woodturned bowls


A Noah's Ark for Patrick and Michael - about 20 inches long


Stocks for wet-sponge throwing at Village Show


A presentation 'wooden heart'


A 'different' Advent calendar


Wooden base for
Scout Presentation Trophy


A pull-along engine for grandson Patrick


A bespoke pergola for Avril
- roses to follow
!


. . . and gates to match the pergola

. . .  and a side gate to match the front ones


Roses planted - and blooming!


Computer-controlled milling system for cutting copper shapes for Avril's enamelling business.

This was put together using a modified mortising machine and a X-Y Table, both fitted with stepper motors, in the days before budget-priced - and compact - CNC devices became available to home users.

Toy oven for grandson Elliot


Font Cover for local Church


. . . . and after a little modification!


Kitchen makeover
ESP - 'Easy Surface Prep'
primer was a great help


A Spice Rack for the Kitchen - to match the shelving units which replaced the white conti board versions.

My first try with Biscuit Joints
- Aligning and clamping the 9 top joints before their biscuits swell and the glue 'sets' on these and the bottom 9 joints as well, was a bit tricky to say the least!


Treehouse for grandsons William and Elliot


Page Top

When I retired and we moved to our new village home, we purchased an oak desk for the lounge. This was before I got serious about woodworking, and looking at it now I realise that it is rather crude in construction – but it did the job. I have previously made some other items for the same room – also in oak – but my wife wanted more storage space for her sewing items. So I decided to make another ‘half’ desk, to match the original, but with six drawers for her small items instead of three.


The original oak desk


Six-Drawer Chest


Unique Advent Calendar


Entertainment Unit

Avril decided that we needed to replace the large old TV, and that the new slimline version should stand on an oak cabinet which would match the rest of the lounge furniture

Theory
and Practice

It also accomodates the Hi Fi, DVD Player, 300 CD Player and Sky TV Tuner


My friend John Churchill - a superb craftsman in wood - made the revolving bookcase in the adjacent picture.  My version of his design is much simpler ('cos I'm not as good as John) partly because it had to be constructed solely in oak - to match the lounge furniture !

Bandsaw Box


The adjacent two pictures show a Library Chair/Steps in each of its two possible positions.
Made in Maple - rather plain compared with Beech or Oak!
It was made to sell at my Rotary Club's Art/Craft Sale - but will it go ?
Click here to see an animation of the transistions from chair to steps and back again.
(Use your browser's Back button to return to this page)

This HMV Model 130A Gramophone had been used as a plant pot stand.   The top veneer had started to peel in several places, and there was a large bleached area in the centre - all caused by water leaks.  (Unfortunately I forgot to take a picture of it in its awful initial state)  However, I managed to glue down the parts where the veneer was curling, and sanded off the remaining varnish.   It took about 8 coats of new varnish - plus some judicous use of touch-up pens to disguise the edge of the bleached area - to get the top looking pretty close to the rest of the case.

Two springs (one broken) drive the gramophone, and they were originally coated in graphite grease.  Since 1930, this grease had leaked from the spring container, over the drive and governor.  As all the volatile part had evaporated, this was now like hard black putty. Getting this off was difficult, as no solvent was effective - just scraping and elbow-grease.

Removing the 14 ft long springs from their container was difficult, but putting new ones back inside was even harder - once started, there was no letting go until each was in place!  It took all my strength and determination, and I ended up with as much new graphite grease on my overalls as there was on the springs.

The drive mechanism was cleaned, greased and tuned, and set so that the turntable actually rotated at 78 rpm when the adjuster pointed at that figure.

Finally, some new 'acoustically transparent' speaker material to replace the silk front that had shredded over the years, and the unit almost looked like new!
When it actually played 'Yes SIr! That's my Baby' by Hari Kari - borrowed from a friend - all the hard work was justified!


Marble Machine 2 - The adjacent picture shows my attempt at making the second version of Matthias Wandel's Marble Machine designs.

I made mine from plywood, pine and maple, with a couple of pieces of oak of suitable size laminated together for the bowl (which is the only part that requires the use of a lathe - the gears are cut on a bandsaw!)

I really enjoyed the build, and I have to say that Matthias's plans - including still pictures, text, and videos with clear and concise voic-overs - make construction very easy to follow.   His Bigprint program also made creating exact life-size drawings of the components simplicity itself.

I used a coat of Danish Oil to finish.
There is a video of the machine in operation - click here
(Use your Browser 'Back' button to return)

There are other versions on YouTube posted by Matt, including this one
I think my Grandchildren are gonna love this (They do!)


This is another bandsaw box - cut from endgrain oak this time.  Its unusual feature is the grey circular insert in the drawer front.
This was needed as I - stupidly - cut the drawer recess BEFORE cutting the front and back off the drawer!
The insert is actually a piece of small plastic guttering, which - by serendipidy - was just about the right size!


A growing collection of Bandsaw Boxes


A Cookery Book holder for my daughter


Another Rotary Bookcase

A rather sad tale is attached to this bookcase:    John Churchill, the designer of the bookcase I made earlier - shown above - was asked to make another. When I enquired how John was getting along with the job, he advised that he had started, but had not been feeling too well, so had not visited his workshop since. Eventually, after some pushing from John, his doctor sent him for tests to discover why he felt so ‘below par’. On the day that he got the results, John called in at my home to reveal that he had cancer of the colon, which had spread to his liver, and that it was inoperable.

During our conversation he told me that I was ‘needed’, and I assumed it would be help his wife Vanessa with driving to the hospital, etc.. However, John said that he wanted me to finish the bespoke bookcase for him. When I pointed out that I am not in the same class of woodworker as John, he said we could do it as a ‘masterclass’, with him sitting in his workshop, directing me to do the physical work, so I agreed.

I visited John a few days later, but he was already bedridden, so we could only talk about the project, though he showed me a sketch of how he had intended to do the top. My reaction was to say that I hoped he didn’t expect me to use this 'basketwork' design as it was beyond my capabilities. However, he had more faith in my skills than me, and said he was sure I could manage. We left the subject there, with me expecting to be able to talk to him about it again, but a few days later – 16 days from getting his test results – he died.

A little while after the funeral, I asked Vanessa if she wanted me to proceed, and she showed me the shelves, central columns, and side bars that John had roughed out, so I brought them home and started to wonder how to do the top. I have no experience of marquetry, and didn’t have much idea of where to get veneers.

To cut the story short, after much struggling with the 'how' and the 'do' I completed John's project, and with some trepidation waited to see if the buyers thought that it was up to John's standard.   Luckily they were delighted with it, but I feel that I may have had a little extra guidance from somewhere when I was working on it.


The lower picture shows the 'basketwork' top design


Yet Another Rotary Bookcase

I made this bookcase for sale at a small Christmas Fair organised by my wife, Avril.   Unfortunately, due to extreme bad weather and flooding in the area, the number of people attending the fair was quite small, and the bookcase remained unsold at the end of the event. 

The bookcase is 475mm square and 720 mm high (18.75" and 28.5" in imperial units) and has oak veneered shelves.   It is completed with solid oak slats and sapele wood edging.   The inlaid stringing is also sapele.   It rotates freely on a hidden circular base - rather like a 'Lazy Susan'.  

Finished  with  Danish  Oil  and  Museum  Wax,  it  will hold a number of books or ornaments - just like 'The one I made earlier'! - and add style and convenience to any room.  It resides besides Avril's chair, ready with reference books for use with her puzzles.


Rocking Horse

I s
tarted making some toys in advance for the Christmas Fair that Avril organises each year in the Village Hall.    This is the first of probably a few 'Pony Rocker' rocking horses I shall produce -  made from commercial plans


Page Top


This is my version of Steve Ramsay’s latest Countdown Calendar - or Advent Calendar as we say in the UK

He did modify the design so that a present could be concealed behind the door, but my version was already completed before he published the change - so no 'goodies', just block swapping each day of Advent.


Raised Panel Doors
Our friends Richard and Sue’s grandson has just reached the ‘into everything’ stage, so they were concerned that he might investigate the cupboard in the bedroom where he stays during visits, as it only had curtains closing off an area full of all sorts of stuff.  I made them a pair of  MDF doors,  routed to look like raised panels

Church Cross from reclaimed oak

Having previously made some items for our local church, it was no surprise to be asked by the vicar if I could make a cross on which to hang the poppy wreath on Remembrance Sunday.  He   said that he had some oak that had been removed when the church organ housing recently had been remodeled, and that was what I used.


Our village notice board had been in place for a number of years, but finally gave up the ghost a couple of months ago, when the softwood frame had rotted enough to start to fall to pieces.   Luckily, the window panes could be re-used – which was handy because they were made of Pilkington’s safety glass – so my design was pretty much the same size as the original. Luckily, one of our villagers runs a woodturning business and he said he had some Sapele off-cuts from one of his larger jobs which I was able to use.


Shoe Storage Box

My wife, Avril, spotted a Shoe Storage Box in a sales magazine and asked if I could make one for her. Although the cost of materials exceeded the price of the commercial version, I could make it from white melamine coated chipboard so that it would sort of match other furniture in our bedroom.


Dungeon & Dragons Box

My Grandson, Will, admired a box I made and asked if I could make him something similar to keep the dice and other items he uses in the Dungeons & Dragons games he designs.I decided to create a finger joint version using a jig I completed recently


ACME Bomb Clock

This is my version of WIL E COYOTE'S surprise present for Road Runner

Cotton Reel Organiser

Avril is a keen patchworker, and although she has in the past concentrated on hand-stitched items like quilts, with problems due to arthritis nowadays she is having to use her sewing machine more. I had already made a pine top for the unit upon which her machines stand, with an ‘upstand’ at the rear to stop items falling off the back. So, when she asked for a unit to organise her sewing threads so that she could easily see what colours she has – rather than searching through boxes – it seemed a good idea to modify a design I saw somewhere on the Internet to go on the pine top.


Bird Feeder

As the Cherry Tree in the front garden decided to succumb to honey-dew virus and died, we needed somewhere to hang bird feeders.

New Fence

We’ve had an ongoing problem with a patch of our front garden which contained a lilac bush which kept sending shoots up and making the area impossible to keep weed free. Finally, my wife, Avril, decided that this old bush needed to go, and the area should be covered with a weed-stopping membrane to reduce the maintenance work needed. Our gardener-helper put in a framework, with a section left for a camelia, and covered the membrane with stones.

‘Whilst you are doing that’, said Avril, ‘could you hide that nasty chain-link fence?’ – Well when SWMBO asks, I obey, so I put in some posts and rails, and found some wood to cut into pickets at our local ‘Woodpile’. I cut the picket tops in a curve to match those on the front and side gates

Raffle Ticket Tumbler

Each year, at our village Christmas Market that my wife Avril organises, we have a raffle – with lot of prizes donated by the stallholders, and usually, a hand-made quilt at the major attraction. As the winning visitors may not be present when the draw is made at the end of the day, we get them to put their name and ‘phone number on a numbered sheet, but we still use raffle tickets to make the actual random selection. Whilst doing this with the tickets in a shoe box this year, I thought that it would be more sophisticated to use a proper drum, so made this version I found on YouTube.


Another Pony Rocker
In natural finish this time, as a present for a child in the village


A Jumbo Rocker
When a neighbour saw the Pony Rocker above being displayed by the child who received it, he asked me to make a smaller version for his granddaughter.  I found this design for  an elephant, and left it unfinished as he wanted to paint it himself..

Tambour Top Box

Having been given some offcuts of Ash, I looked on the Internet for something to make from them, and came across this box.
As the drawer is pulled, the tambour opens automatically.


Page Top

Bread Bin

Using some of the strips left over from the Tambour Box, I made a Bread Bin for the kitchen.


Paint Tube Rack

When I saw my wife, Avril’s, watercolour paint tubes scattered in a tray on the table she uses for painting I was triggered to pop into the workshop to knock up this rack from ‘might come in useful’ scraps.

Doll's Cradle


My friends asked me if I could make a doll’s cradle for their granddaughter as they could find nothing suitable in the shops or online. I had a search and found free plans for a cradle at https://rogueengineer.com/diy-american-girl-doll-cradle-plans/, and they approved the design.

When I had it finished, I added some wood carved flower applique shapes that I found on Ebay, and painted the cot in a sort of champagne colour – used on the re-fresh of our kitchen cabinets. My wife, Avril, was so taken with the prettiness of the cot that she decided to use her patchwork skills to make a quilt and other items for it.


.303 Rifles

‘I’ve a challenge for you’, said my son on the ‘phone, ‘can you use your retirement woodworking skills to make some rifles?’ Apparently, his Am-Dram group would be producing a version of Black Adder Goes Forth as part of the WW1 centenary in November, and they needed some Lee Enfield rifles for the last scene where the characters go ‘over the top’. I said I would think about it, and started looking on the ‘net for help.

Luckily, a good friend and neighbour owns a WW1 bayonet, which he said was of the smaller size that was also used then. I copied this fairly closely, but must admit I did not attempt the ‘hollow grind’ shaping on the blade. Two screws will attach them, so the characters will have to have them already in place rather than ‘clicking’ them on.

I must admit that by the time I got to the third gun I was getting a bit bored with the project, but I soldiered on to complete them.

Wipe Clean Memo Boards


A friend asked me to make her a kitchen memo board, and I recalled that when our village hall was extended, the builders used a plastic material to line the walls of the kitchen, as it was washable and thus very hygienic. There had been some off-cuts left over and they worked very well with wipe-off markers.  The bottom frame section has a groove for the marker.


Planter from offcuts
I ended up with lots of strips of cut-out pieces – from 1/2 inch square to 3/4 by 1 inch in section - after making picture frames. I made a couple of frames to support roses and shrubs in our garden, but still had a lot left.
When we saw that our sweet pea plant was overgrowing its pot on our patio, I thought of using the cut-out strips to make something similar. A plastic inner container would protect the wood, and I found a square flip-top waste paper bin that looked as though it would do that job – and discarded the lid.

A Contemporary Clock


As my son suggested that my Acme Bomb Clock  would be a suitable Christmas present for my grandson, William, my wife suggested that I make something else in wood for his twin brother, Elliott. I cast around in my favourites on Lumberjocks and YouTube, and finally came up with The Wood Whisperer’s Contemporary Clock – https://www.youtube.com/watch?v=UcYO9Ftkros&t=2s – as a suitable candidate.

Backgammon Cutlery Canteen Conversion

Box before conversion


Avril, and I got tired of lifting the heavy canteen of cutlery up for formal dinner parties and decided to put the contents into the cutlery drawer of the chest of drawers adjacent to our dining table.   This left us with the redundant container. Casting around for ideas of what to do with the well-made and attractive wooden case, I hit on the idea of converting it to use it for Backgammon


Telephone Box Conversion

The traditional red telephone boxes in the UK are tending to fall into disuse as practically everyone now has their own mobile ‘phone. In villages, rather than removing them, British Telecom are asking Parish Councils if they wish to Adopt a Box, at a nominal fee of £1. As reclaimed ones can sell for thousands of pounds, this is a bargain!
Our village of Chedzoy, in Somerset, took advantage of this scheme, and invited ideas for its continued use in our village newsletter. The suggestion that received greatest support was to turn our box into a free lending library which villagers could use to donate and borrow books, and I was asked if I could make some shelves for the box.
Besides the shelves, a cover was needed for the electrical connections for the lamp in the roof, and the picture shows what I made – using pine for the shelves, and ash veneered MDF for the back and cover


Interior view


Magic Lantern Slide Holder


I finally have got round to cleaning up and re-illuminating the magic lantern that I rescued from being sent to a skip some 40 years ago). I got a new Edison Screw bulb base adaptor to take a quartz iodine projector lamp to fit in the socket inside the lantern.

My daughter Caroline mentioned that she would like to have the lantern left to her, so I thought that I’d better get a proper slide holder rather than the cardboard version I made, or the metal one for 35 mm slides.  All the holders advertised on ebay were from the USA, with carriage charges around three times the actual price of the holder itself. As I’m too mean to pay those sorts of charges I decided to make one myself – how hard could it be ?


Dummy Wireless front for stage prop


Having risen to the challenge of producing dummy rifles for one of my son’s theatre, his latest request was for the front of a pre-war wireless set to be used in a production of Goodnight Mr Tom.

I searched on the ‘net for pictures of old radios, and finally found one that seemed to have a suitable dial. I had to play with the copy to straighten its keystone effect, before printing it onto acetate on my laser printer. I had some opal plastic sheet to which I could attach it, which I fitted it into a recess cut in a suitably-sized sheet of MDF. I had some white LED strip from which I cut a short length, and with a suitable holder and a 12V battery, could illuminate the dial by sticking the strip to the back of the opal. Four dummy knobs were fitted, with the one at the top left being attached to a switched potentiometer so that, as in real life, when rotated it turned on the illumination.

In another recess I put a board covered with traditional acoustically-transparent cloth which I had left over from a gramophone renovation – https://www.lumberjocks.com/projects/49698 – and added some trim to the two recesses, plus a base to enable it stand upright.

I was only required to produce the front of the dummy wireless as the props department were to add a cardboard box for its use on stage.


Child's Kitchen Chair


I was asked if I could make a copy of a child’s chair by someone who had been referred to me as ‘he is retired and does a bit of woodwork’, so might be able to help in their quest to get a similar chair for their great-granddaughter to match those purchased years ago for their several grandchildren. I have not made anything like the example before, so wondered if I could manage to make five identical back struts and four identical legs – bearing in mind that the designs on my previous wood turning efforts had changed each time a got a catch or otherwise deviated from the intended shapes. As I had just got a nice new lathe, I thought that I ought to accept the challenge, but advised the client that it was new territory for me, and I might not succeed.


Page Top


The sample chair was made from ash and beech, but there were no suitable small small off cuts of either of those two types at my only local supplier, but there were some suitable lumps of basswood (American lime), so I purchased these. I had to cut and join a board for the seat, and laminate two pieces for the back top rail, and sawed the other parts for the legs and struts. I was proud of the fact that I turned the struts and legs, direct from square section, using my large skew chisel – as the curves were pretty gentle I was able to avoid the digs and catches that I usually manage to achieve with the skew.

When I came to drill the holes in the seat for the struts and legs, I began to appreciate more fully the fact that they would be angled in two planes at the same time, so using a power drill with Forstner bits made it a rather difficult task. I must admit that when I first assembled the back, I was actually amazed that it came out so well, matching the sample chair very closely.
The legs also dry fitted OK, but the glue-up was a nightmare as the glue in the basswood grabbed the legs immediately, and held on like a bulldog, making any attempts at adjustments to get the seat level nearly impossible.
The sample chair had the owner’s name carved into the top rail, but being curved, I could not use a router-based sign making system to engrave ‘VIOLET’ onto my chair, and quickly discovered my skills with a dentist’s drill system (or Dremel) were non existent. I searched for local wood carvers who might be able to help, but the only one I found was rather churlish and wanted £70 to carve six 15mm high letters, so I left it to the client to arrange that if she wished

When assembled, the basswood looked very pale, but three coats of Danish Oil, and some Renaissance Wax, brought it to a pleasant honey colour. Even without the carved name, the client declared that she was delighted with the chair, and I must admit to certain amount of pride that i managed to achieve what was quite a tricky task.

I did eventually find someone to carve VIOLET on the chair back using the outline text I transferred to the wood.


Artists H-Frame Easel


My artist friend – for whom I make picture frames – asked me if I could make her a ‘proper’ easel, so I looked around on the ‘net and ended up being impressed by this design, so got the plans.


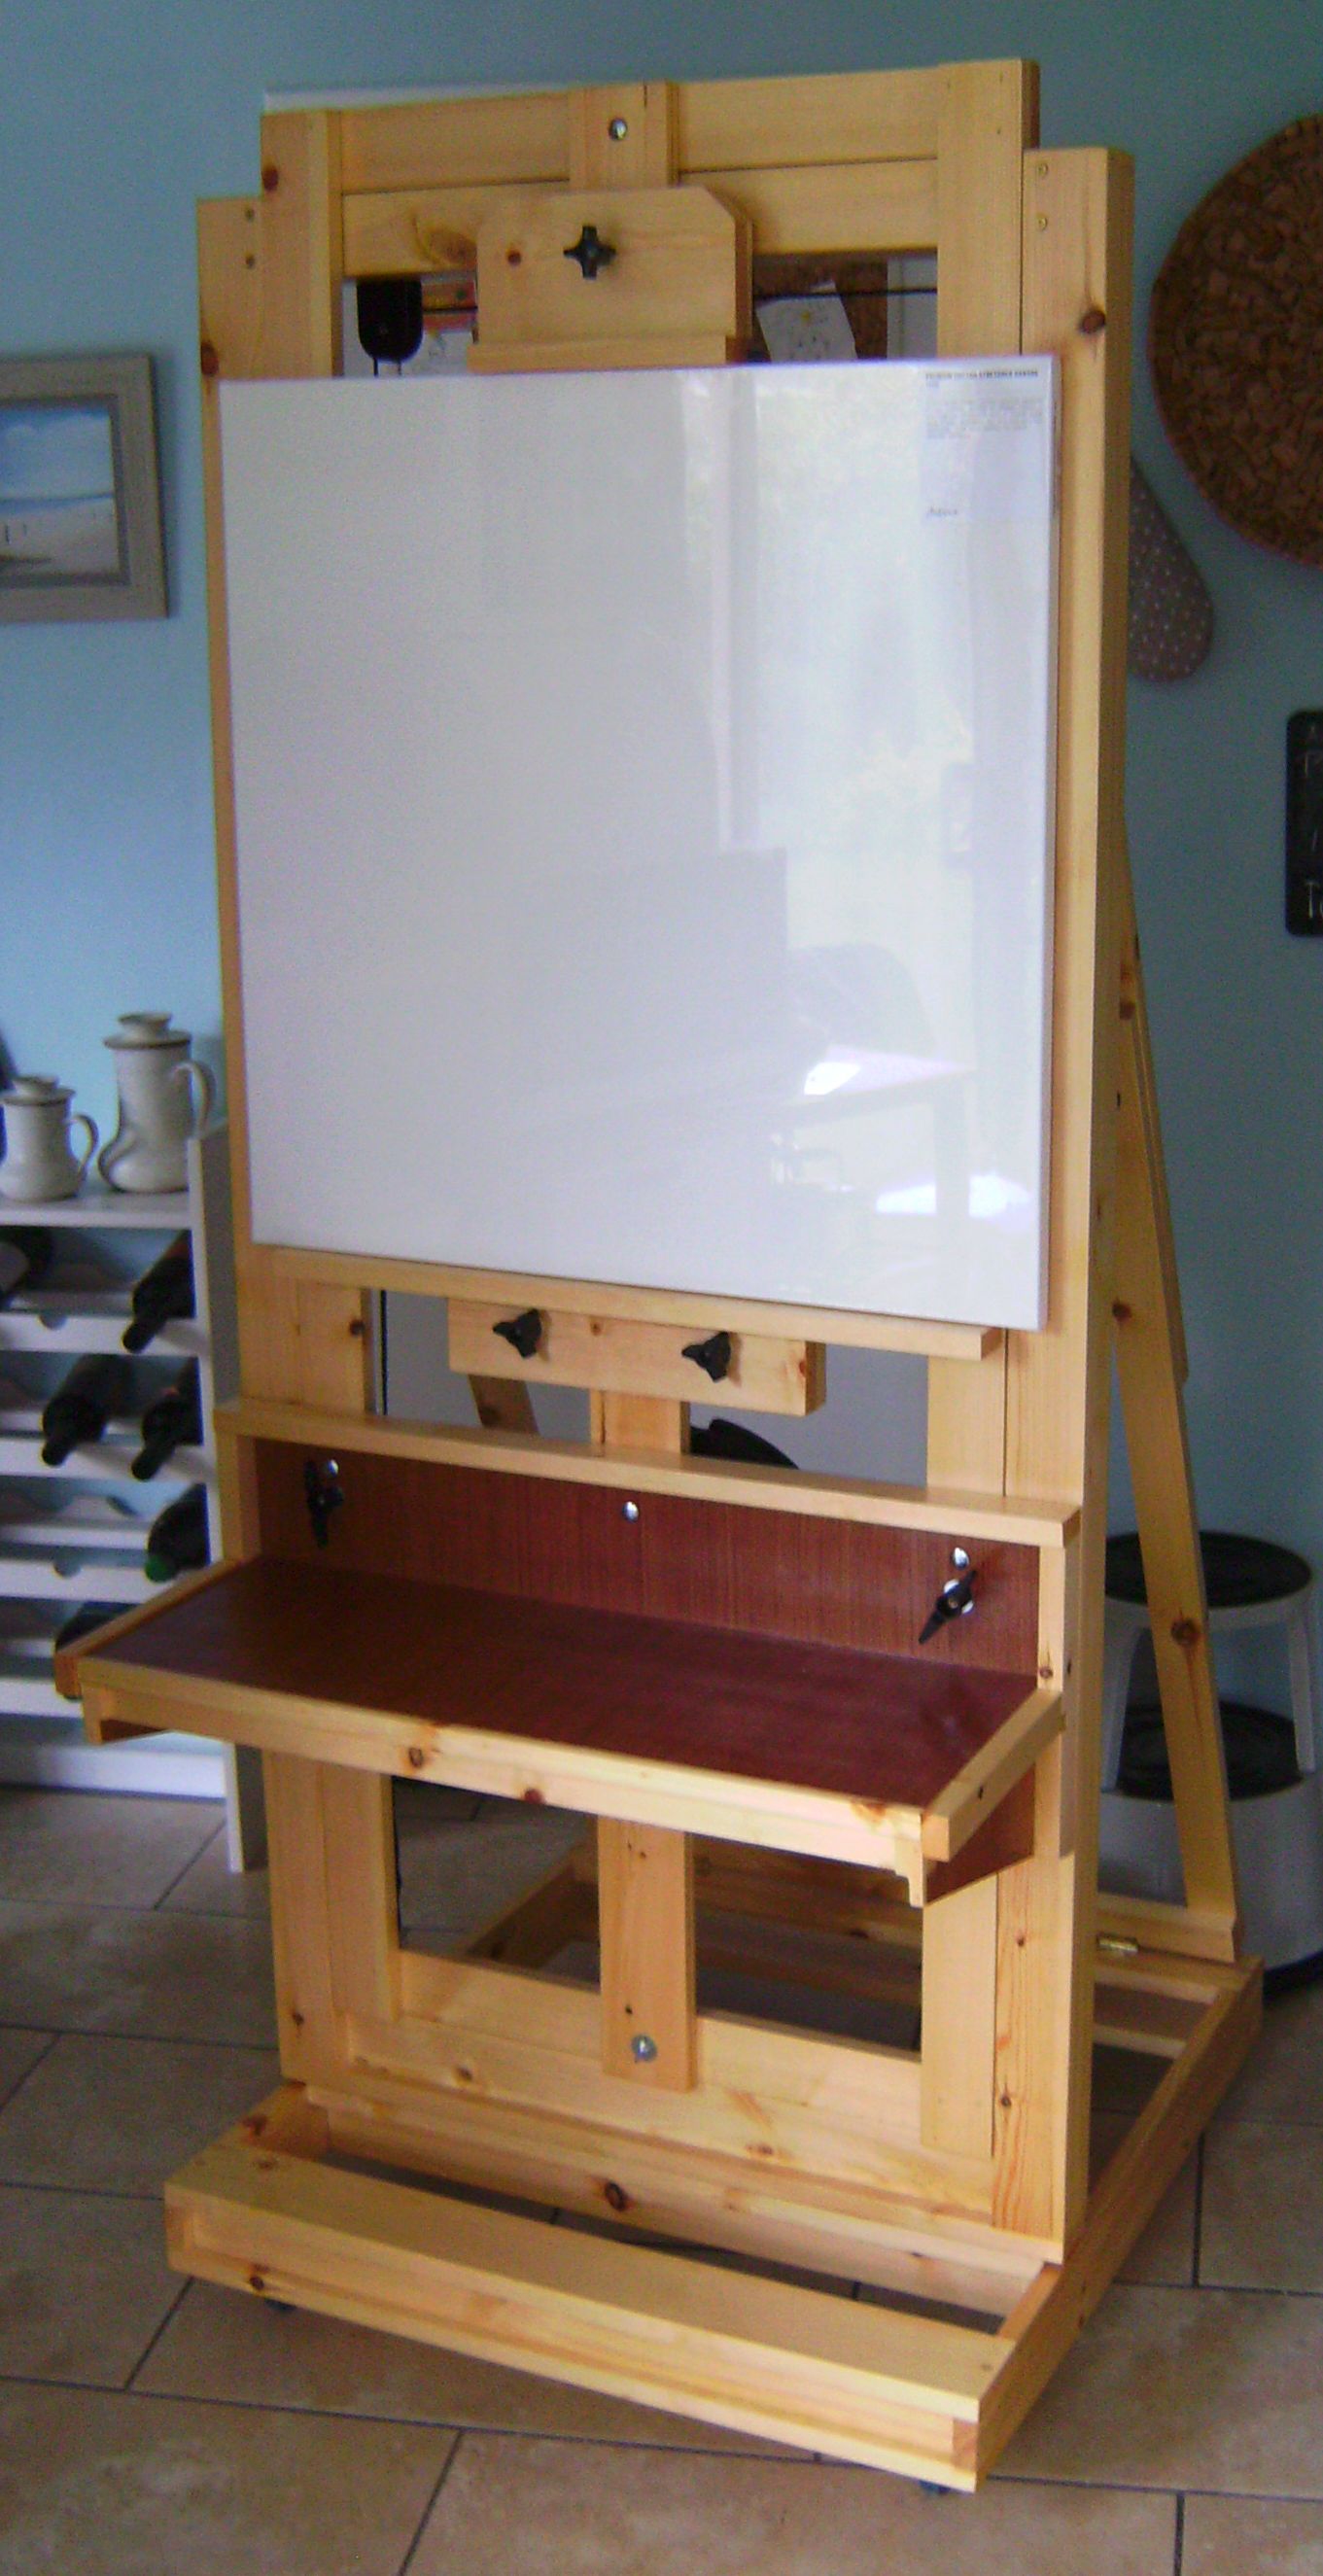
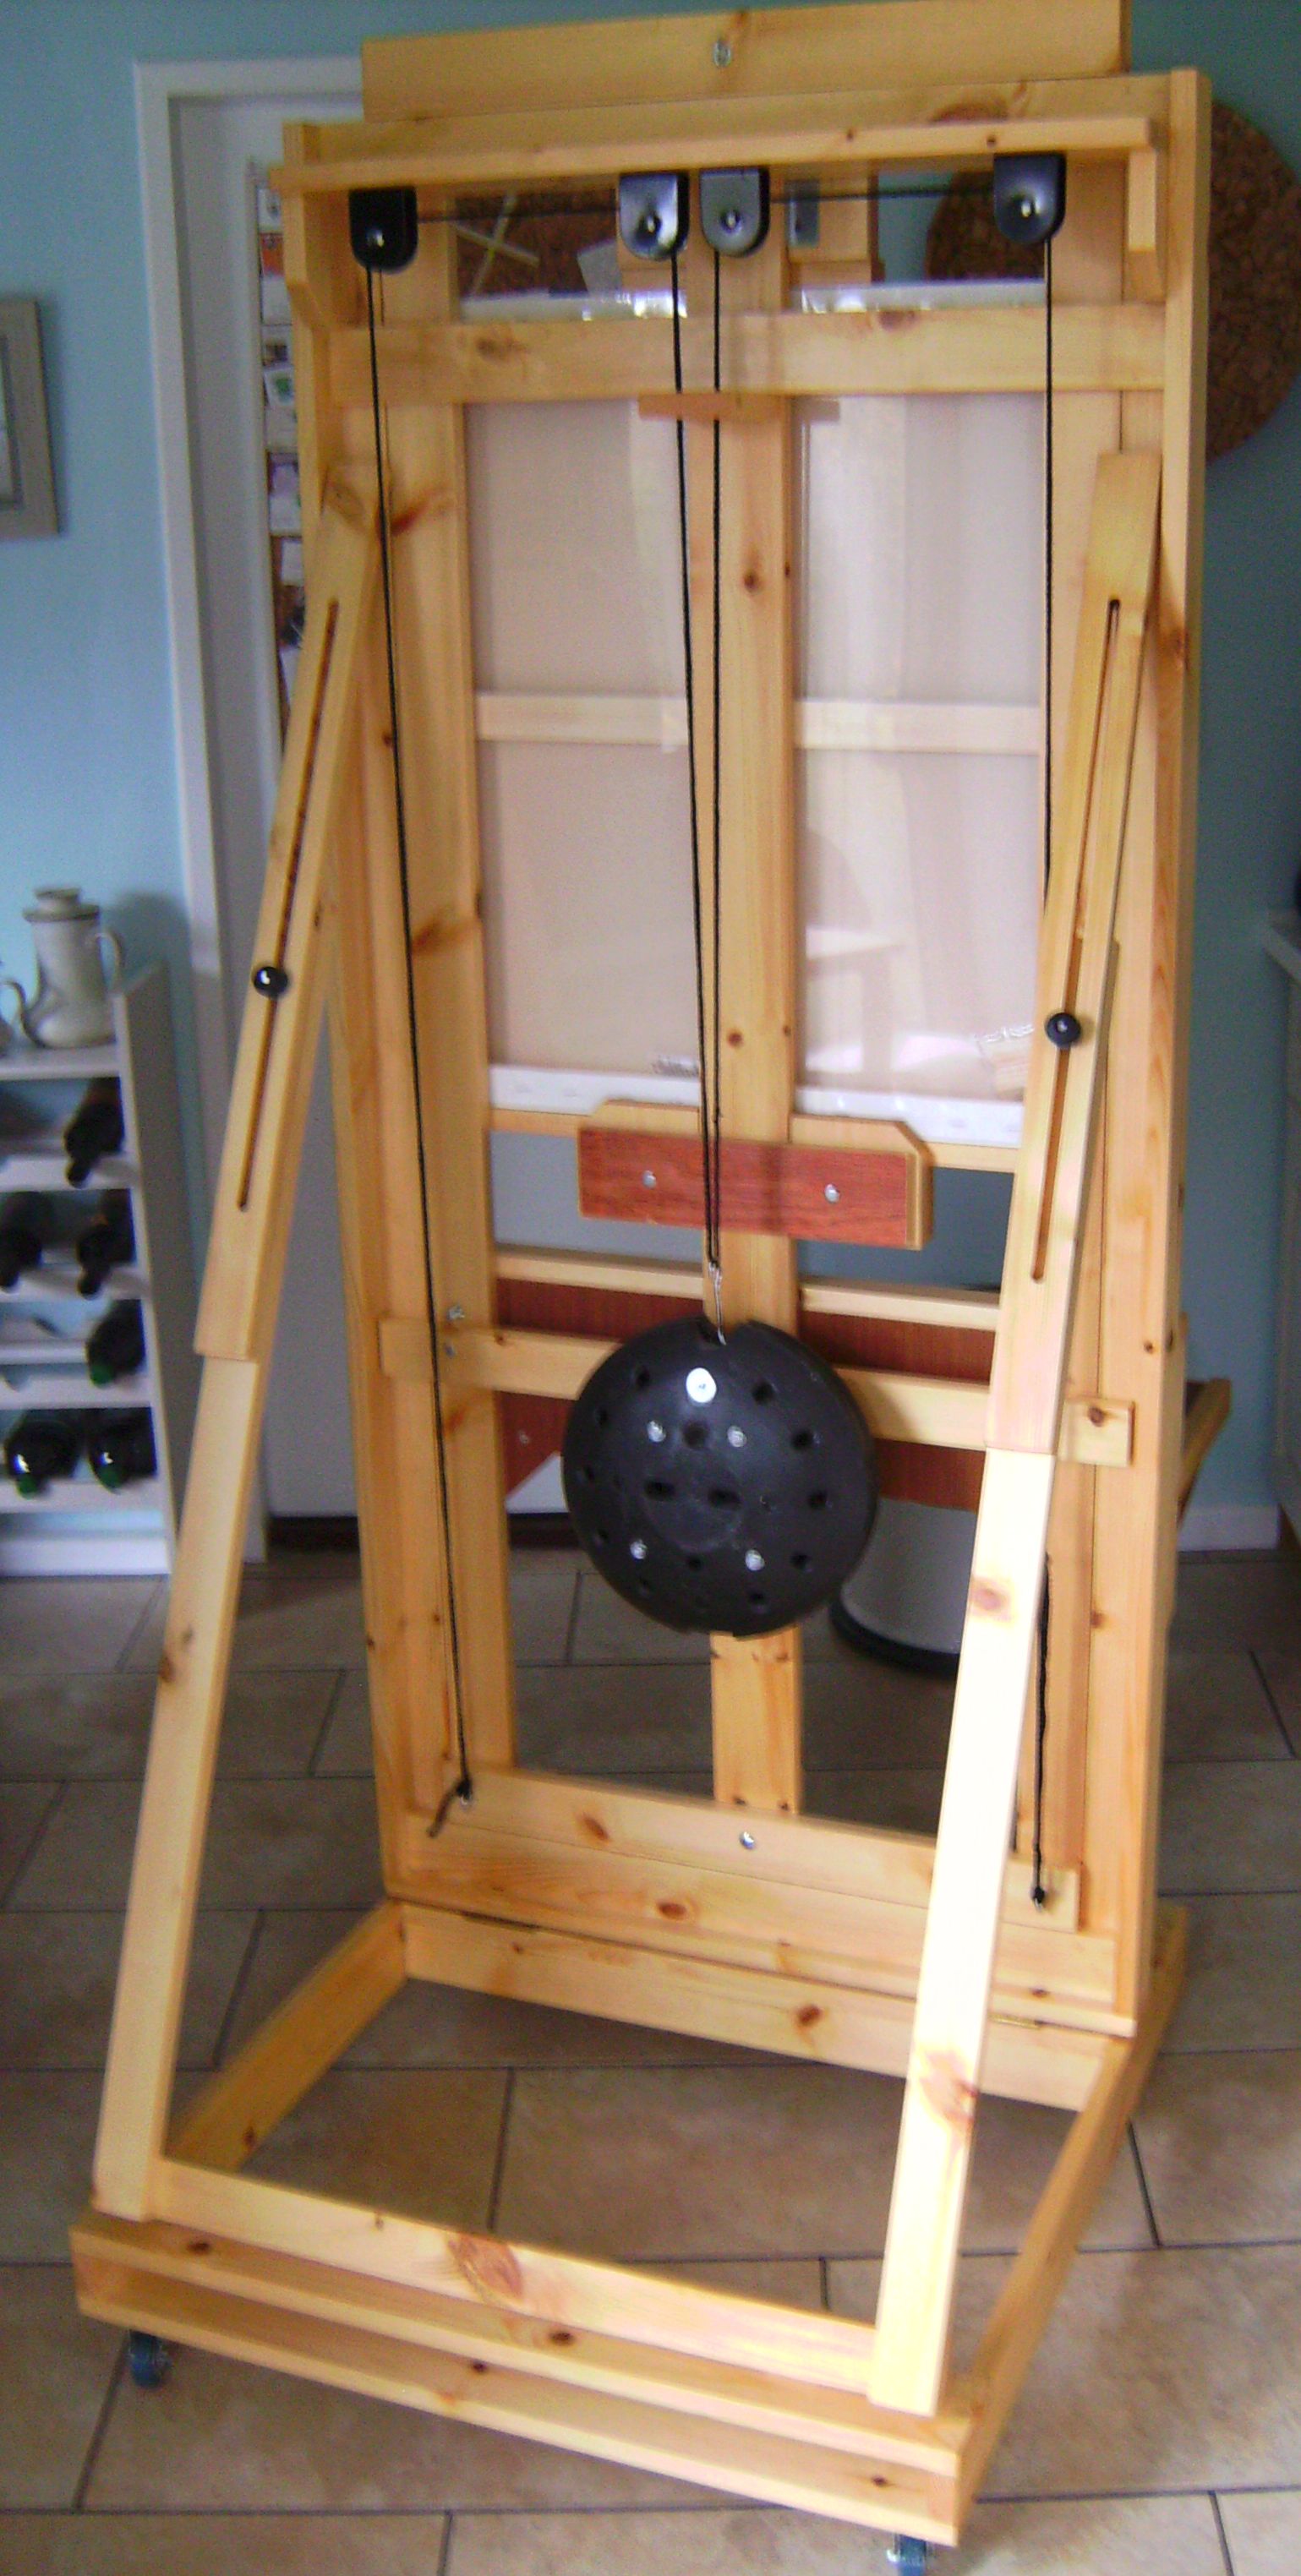
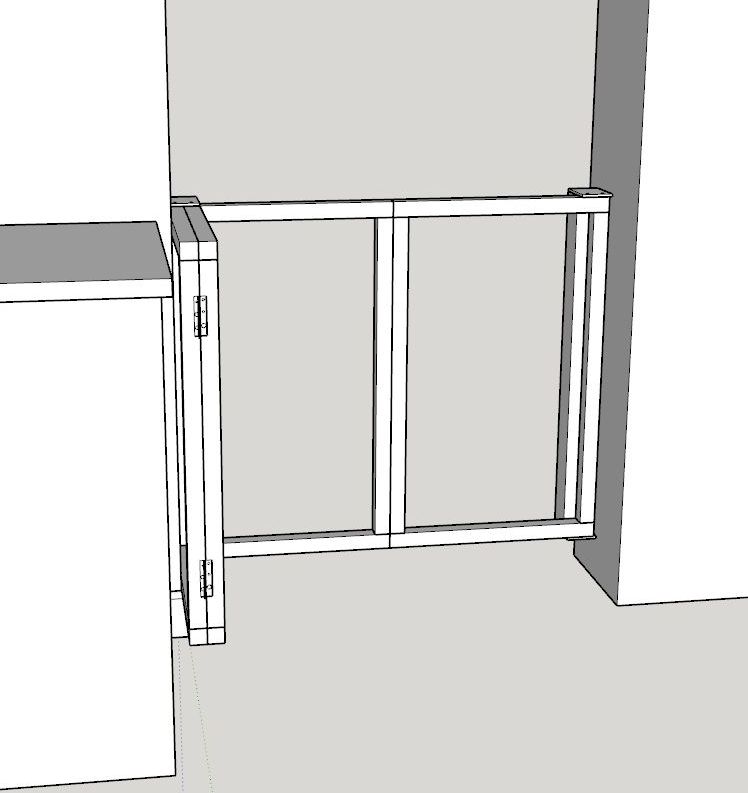
The design has a moving central frame within an outer frame, enabling the canvas being painted to be raised or lowered for ease of access to different areas. To enable the central frame to be moved easily, a system of pulleys and a counterweight is employed, and I was able to use the pulleys from a bicycle storage lift that I had lying around unused.


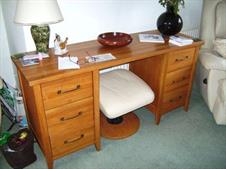
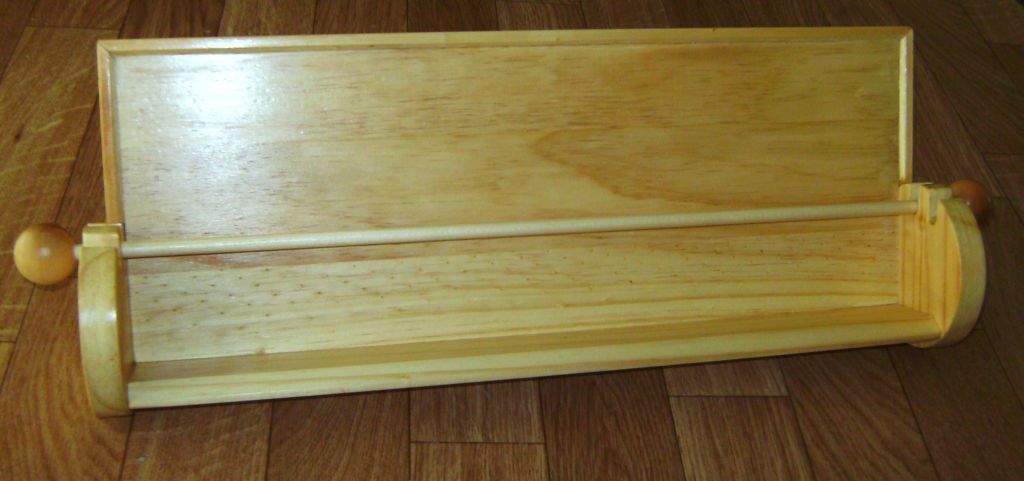
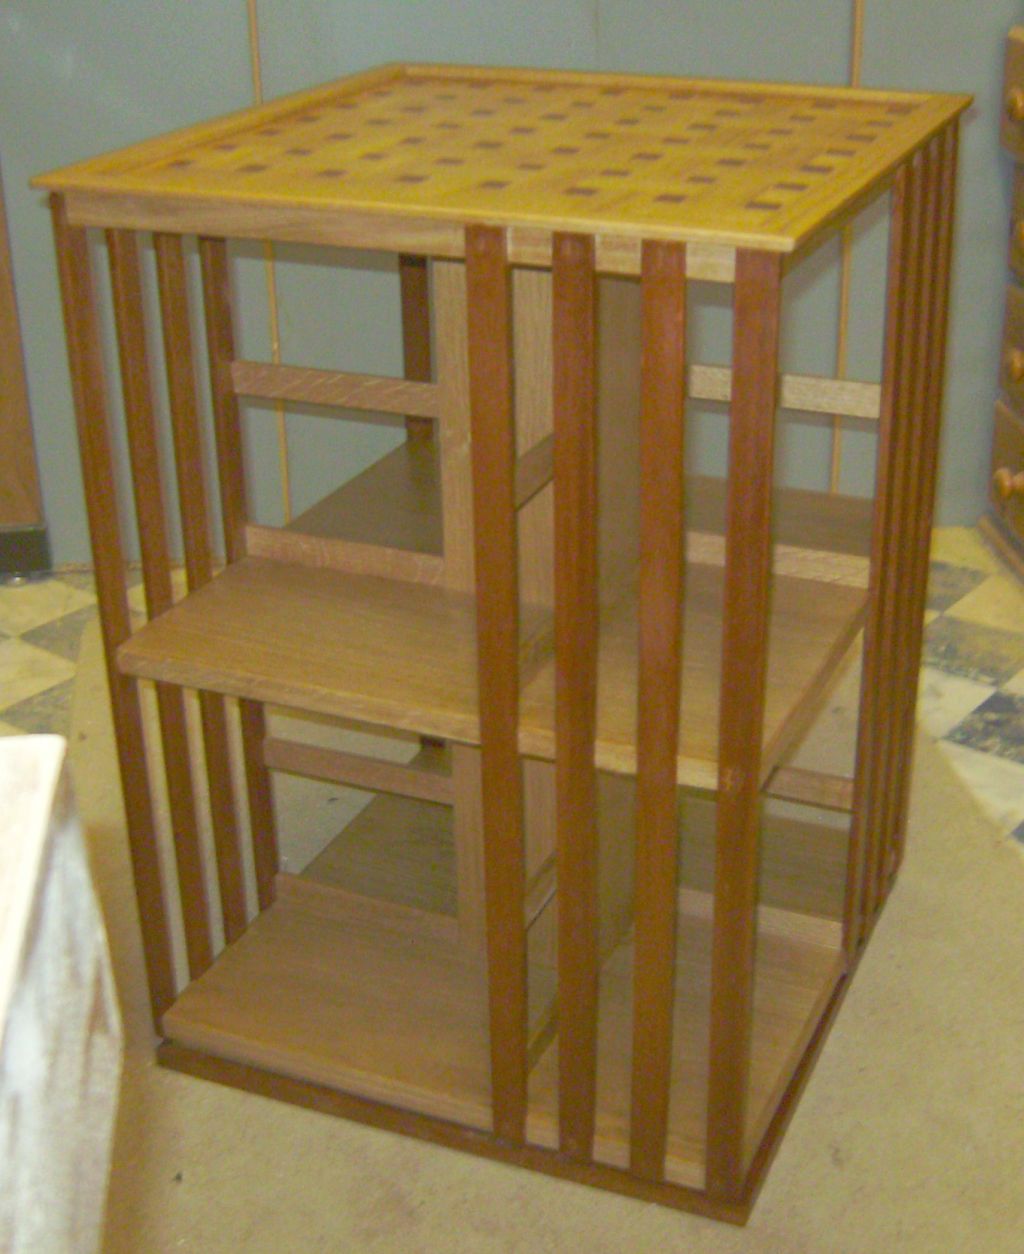
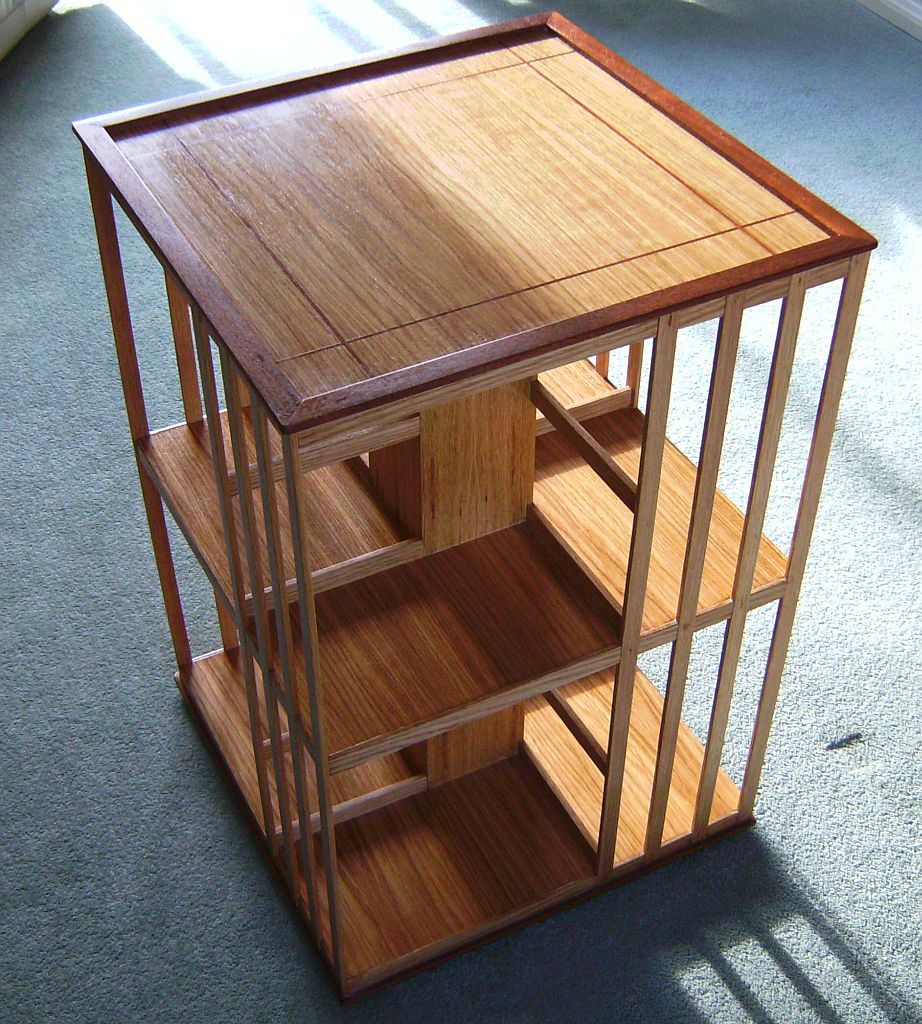
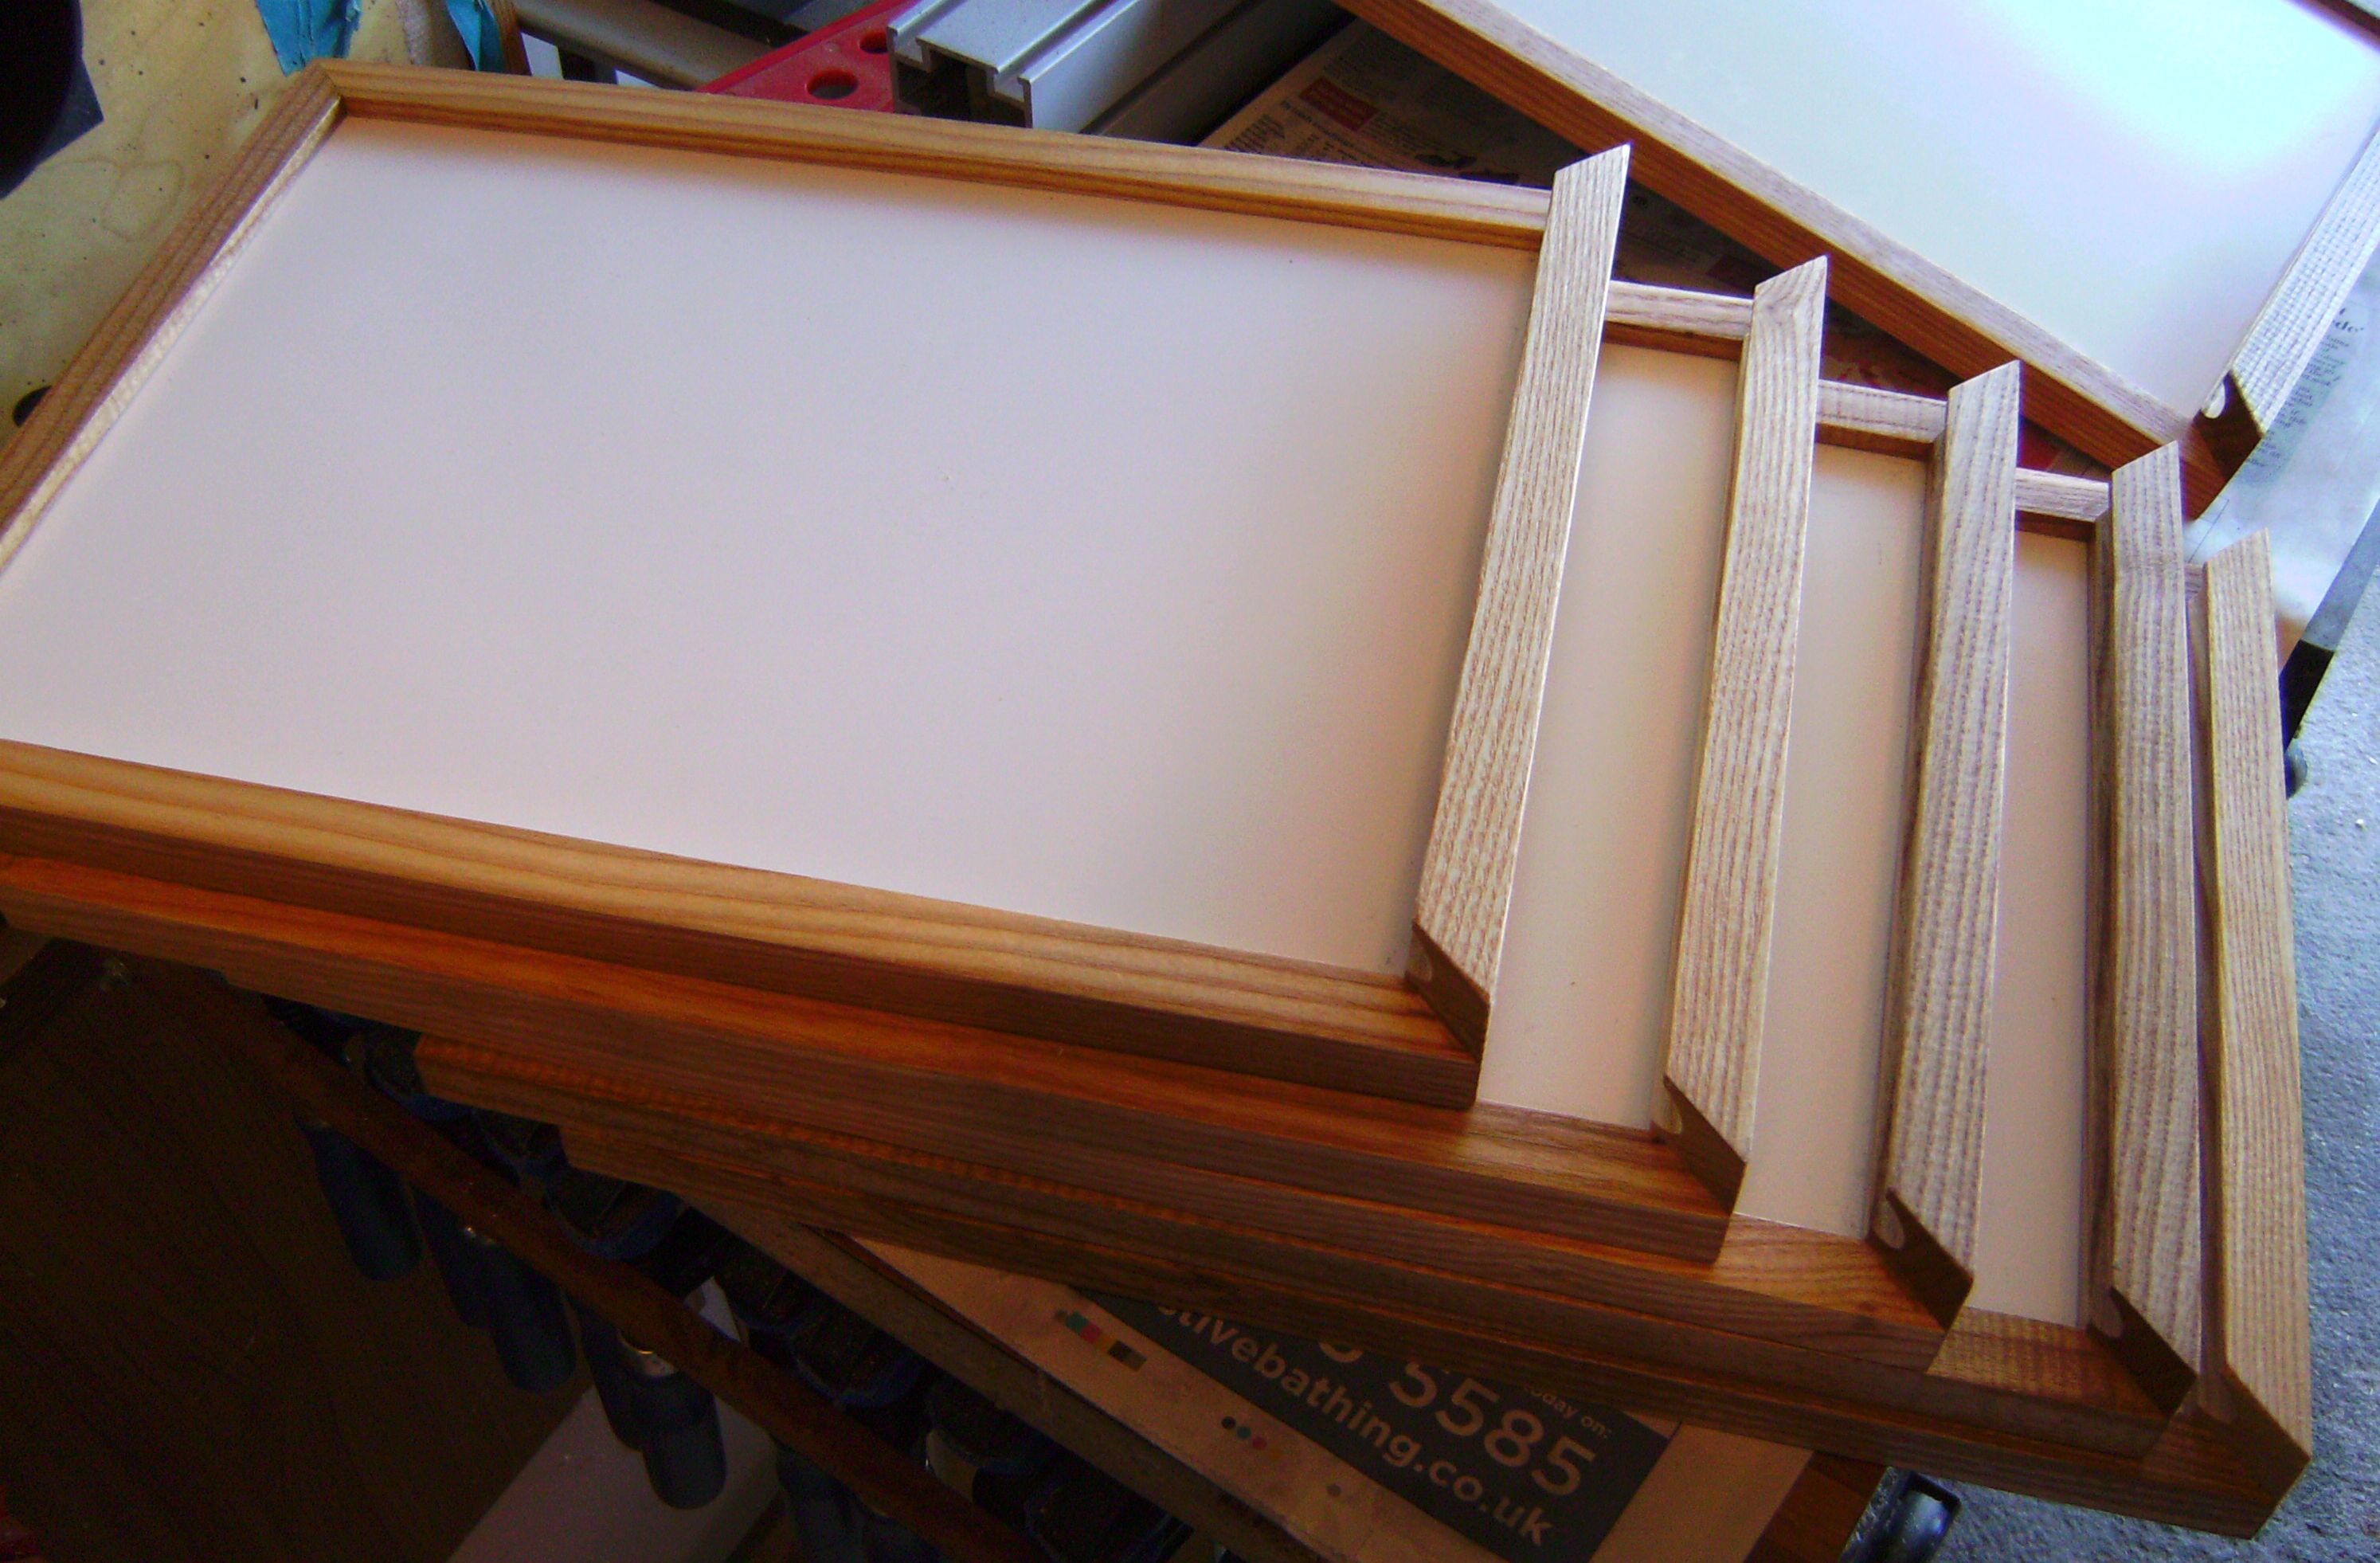
I decided to use the included design for the taboret for working space to mix paints, place brushes and other artist’s tools, and, with its extendable trays at each side, this looks to be particularly usefu

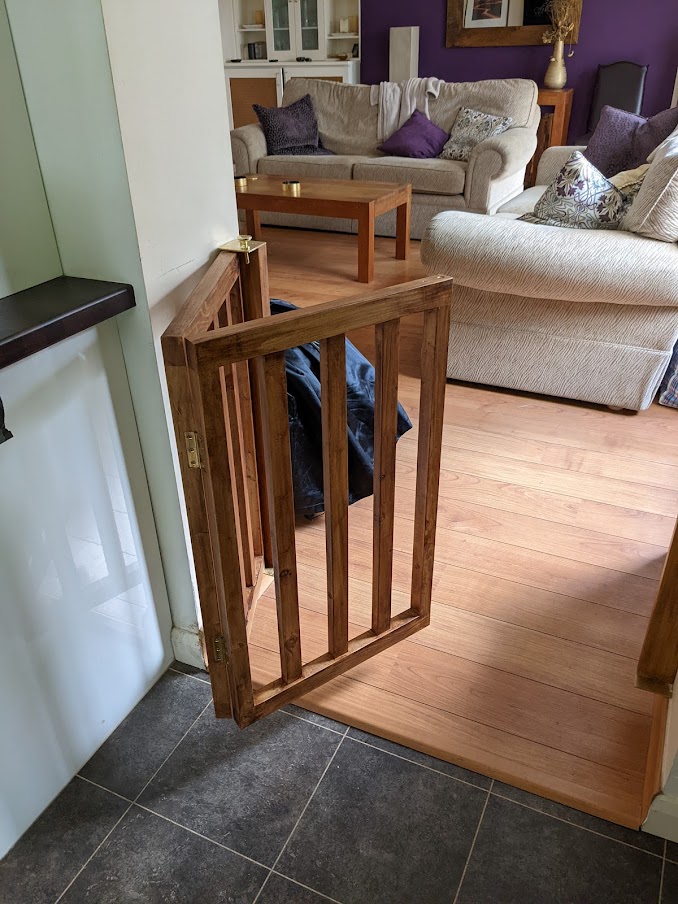
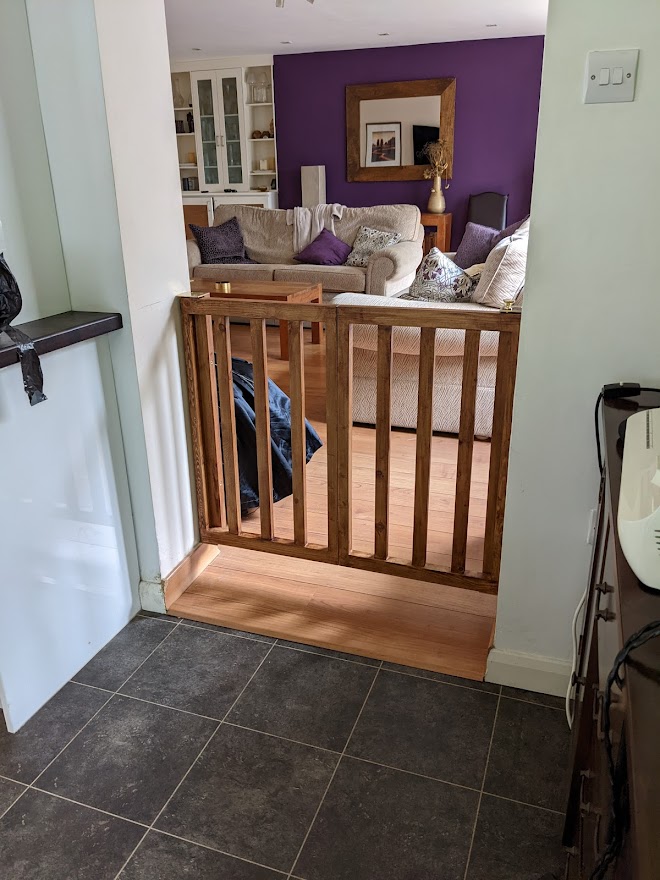
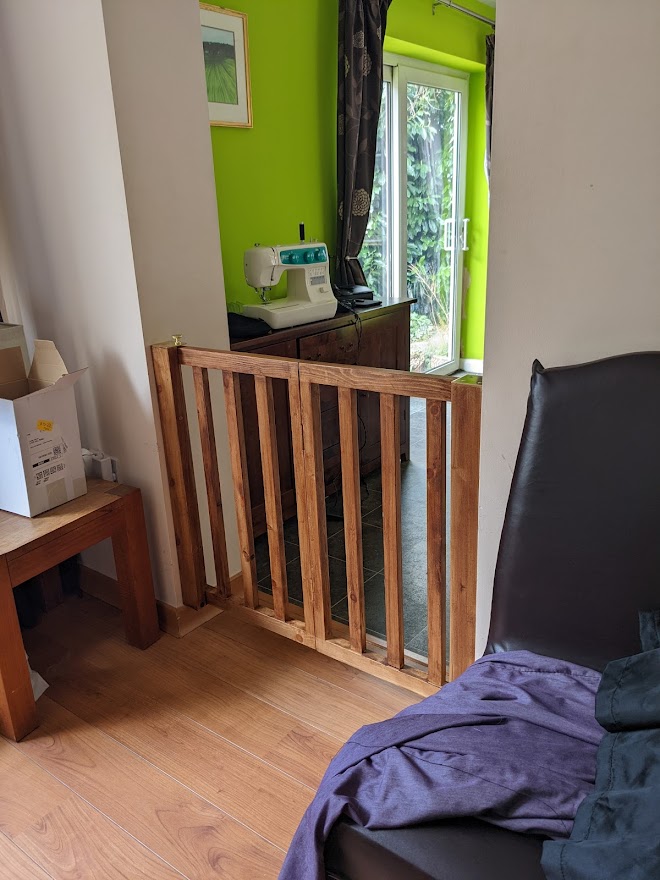
When she visited to see the finished easel, which has three coats of Danish oil applied to the pine,  I was pleased to hear that she was delighted with it.


It took some effort to transport it and manouevre it into her small studio, but when I saw the pitiful tripod that was her old easel, I realised why she needed something more substantial, so that she can work on larger canvases without her old stand repeatedly falling over.


She later removed the counterweight as she preferred to work without it. 


Postbox


Friends of mine recently had some oak-faced flooring laid, and there were inevitably pieces left over. Having used some for shelves, they asked if I might make them a postbox from what remained.

They had an old iron letterbox obtained from a reclamation yard to go on the front, which would be in keeping with the appearance of their old cottage – which was known in the village as the ‘Old Post Office’.


Woozle Bird


A good friend of mine sent me some plans he had purchased over twenty years ago, for an automatom - in the form of what was called a
'Woozle Bird'.
I used a teak board to make the base, and some of the more fragile parts of the bird, plus the winder and a couple of the cams.  For the pulleys and the 'weight' I used some purpleheart I'd had lying about for years.  Despite the heaviness of the purpleheart, the weight didn't seem heavy enough for me, so I drilled some extra holes into it, which I filled with molten lead.  That did the trick nicely.
I cheated a bit by using 5M hex-headed grubscrews to fix some of the parts to the shafts, and also used screws to hold the top of the base and the feet and the ruff in position.  This did however enable me to repeatedly disassemble and reassemble the unit, and adjust the positions of the cams, etc., to get the best action - which would have been impossible if everything was glued.

There is a video showing the bird in action here .


Page Top

Dog control Gate


My son needed some way to keep his dogs in the kitchen/diner area overnight - away from their new suites in the lounge.  He asked me if I could design and make something suitable.   I eventually came up with a design which he liked, and that and the finished version are shown alongside. A pin attached to the brass knob in the second picture holds the folded gate open.   It is moved to the top of the other support to keep the unfolded gate closed in the fourth and fifth pics. 


Box for local egg sales


My neighbour keeps chickens and wanted to sell her surplus eggs in our village, so I made her a box out of an old computer desk she was throwing out and some white melamine board I had spare. Originally I was going to give it legs to raise it to a convenient height for purchasers, but then cut the extended box sides so that it could mount over the coping stones on her front garden wall (pic 2). I cut some holes in the back, at the top and bottom to allow air to circulate to prevent the eggs frying in hot sun, but covered them with mesh to keep bugs out, and an odd piece of whiteboard on the inside of the door can be used to show prices. (pic 4). A concrete screw into the adjacent wall column keeps the box securely fixed.

In my usual rush to get things done quickly, I totally forgot to use exterior glue as well as the screws used to hold it together, although I did put mastic under the lid to seal that. I intended to coat it with some garden shed and fence paint I had left over but when I checked the tin it had dried out, so I painted the box with some indoor emulsion from another unfinished tin. Again, I failed to use some melamine primer before applying the emulsion, so with the wrong paint and no primer it probably won’t be long before it all flakes off!

I added a window on the door for the ‘For Sale’ sign, so that it can be reversed (pic 3) to advise would-be purchasers that they didn’t need to sort through empty boxes.

My neighbour was delighted with the box, but will she still feel the same when it weathers?. 


Page Top

Planter Renovation


Friends from the village asked me if I could repair a couple of planters that were falling to bits. As usual, I forgot to take a ‘before’ picture, so can only show the finished result. The second picture, however, includes the 5-inch pieces cut off the bottom of each leg and does show how rotten they were. The bottom rails were in a similar state, with one missing completely and the side boards hanging loose. I initially thought that I could just move the rails up after shortening the legs to remove the rotten areas, but of course as the shape is tapered, the rails were then too short, so I had to make all eight new ones. Again because of the taper, I could just about prise the side boards out of the top of the frame without dismantling completely, but it was a struggle to get them free for shortening on my bandsaw.

I did intend to use dominoes to fix the new rails, but the Domino tool was too large to go in the gap between the legs, so I resorted to pocket hole screws. Even then I had to shorten the star-shaped driver bit to get that in. After repainting with garden paint – three coats on the new wood – I added some nail-on nylon feet to the bottoms of the legs to reduce water take-up, so perhaps it might take longer for the repaired planters to need renovation again.

Ribbon Rack


I was asked to make a rack for ribbon reels, and provided with a page from a magazine illustrating one made from a Boston Shelf sold by Dunelm.   The shelf seemed to be no longer available, so I used some cleaned-up offcuts of pine and simply glued and air-nailed them together..   The only part that had me scratching my head was how to fix the knobs on the ends of the support dowel.  Initially I used a screw through the knob, but that meant the user needed a screwdriver each time reels were changed.   I then thought of cutting screw threads on the dowel and into a recess in the knob,  but the metal-working dies I have did not work on the wooden dowel.   Finally, I came to the modern standby for this sort of thing, rare earth magnets - one araldited onto the end of the dowel, and another in a recess on the knob.   I included one of the plastic spacers supplied with the magnets in the recess to reduce the strain on the araldite when removing the knob.

I left the task of painting to the recipient, and the positioning of the holes for wall mounting - which is why it is balanced on a chair for its picture.


Christmas Candles, etc


Avril and I found the glass candle holder in the Museum Selection catalogue, but rather than buying it, I said I could make one from the old laburnam tree trunk that had been drying since Mary Coulson had it chopped down.


The first one was chosen by Avril, with the others destined for Caroline and Paul. 

The little pen & pencil pot was made from a small piece of branch - possibly from the same tree.


Page Top

Weaving Frame

A neighbour wanted to use up some knitting wool to make squares to be crocheted  together to make blankets, and asked me to make this 22 x 22 cm frame.   I was pleased to work out a way to get all the nails at the same height.